BMW 5 Series E39 3D-printable parts
Free 3D printable STL files for the BMW 5 Series E39 (1995–2004). Replacement parts, clips, brackets and accessories.
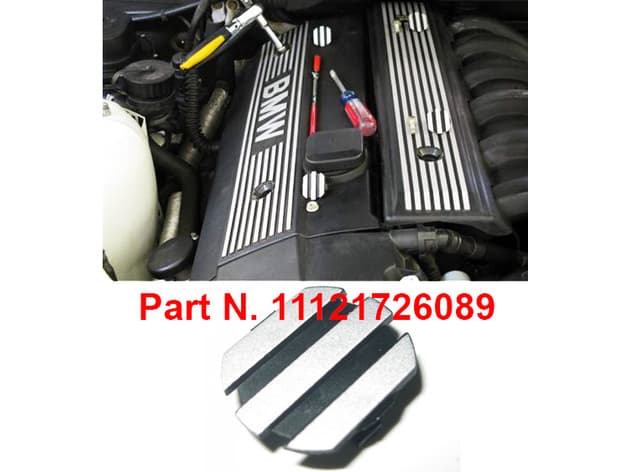
M50 / M52 / M54 Engine-Cover Fastener Cap
Replacement beauty cap for M50, M52 and M54 engine-cover fasteners, physically shown on the engine. BMWFans identifies the exact component as cap 11121726089 and confirms E34, E36, E38, E39, E46, E53, E60/E61, E65/E66, E83, E85 and Z3 applications. Use engine-bay-rated material and keep it clear of hot or moving parts.
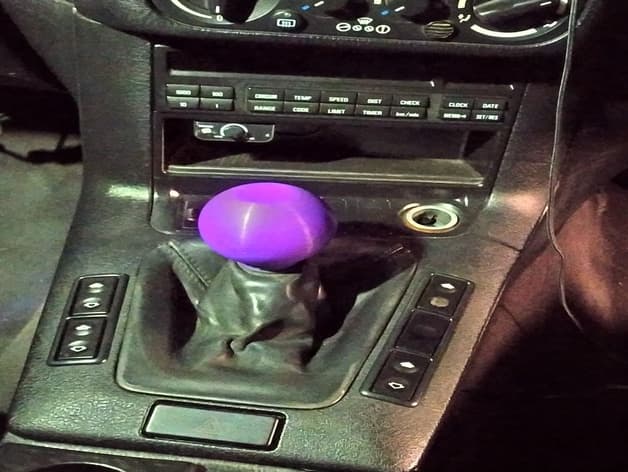
Clip-In Gear Knob Set
Four clip-in replacement gear-knob shapes for the BMW E34 and the creator-listed classic BMW chassis. The design was developed around the common BMW latching stem and includes an installed physical example. Confirm the lever's clip profile and preserve full shift travel before driving; the grouped API fitments reproduce only chassis families explicitly listed by the creator.
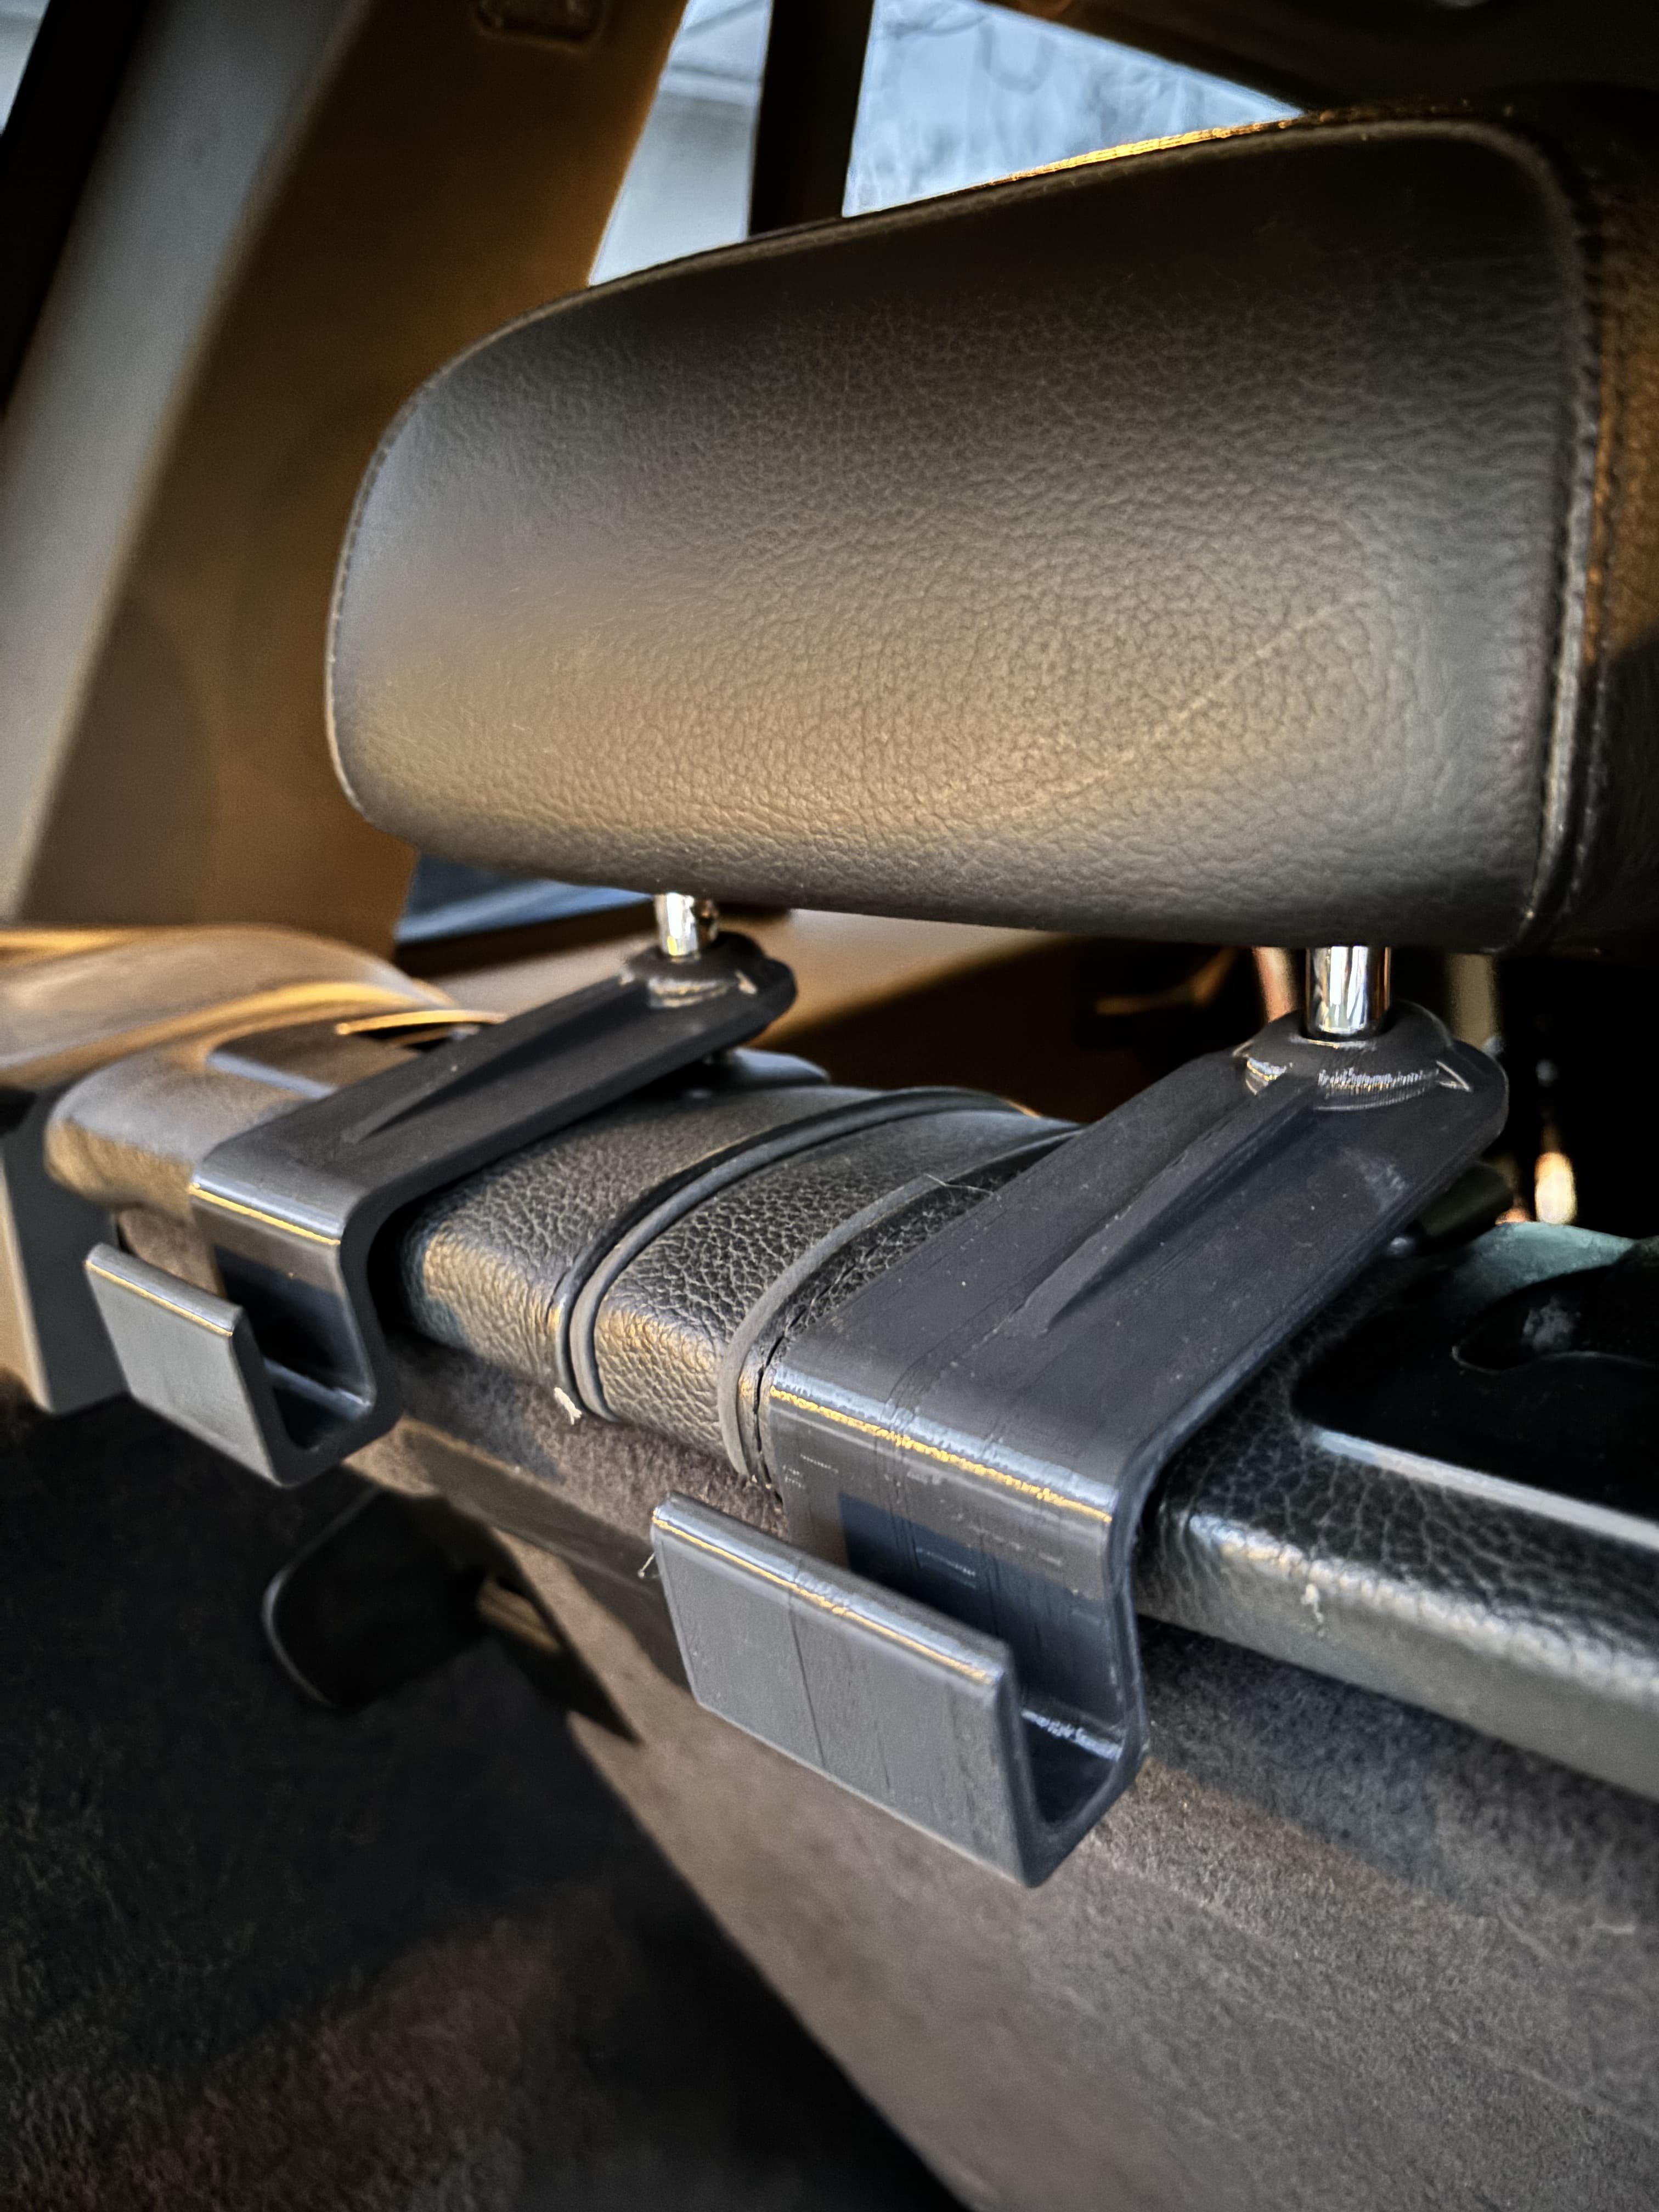
Trunk Cargo Hook
Clip-on cargo hook for the rear load-area rail, physically shown installed and documented by the creator as used reliably for more than a year. The creator directly lists X3 E83, 3 Series E46, X5 E53 and 5 Series E39 compatibility, so all four live generations are linked. This is an accessory rather than a reproduction of a BMW service part. Print in PETG as documented, observe sensible load limits, and confirm it cannot obstruct the rear seat or cargo cover.
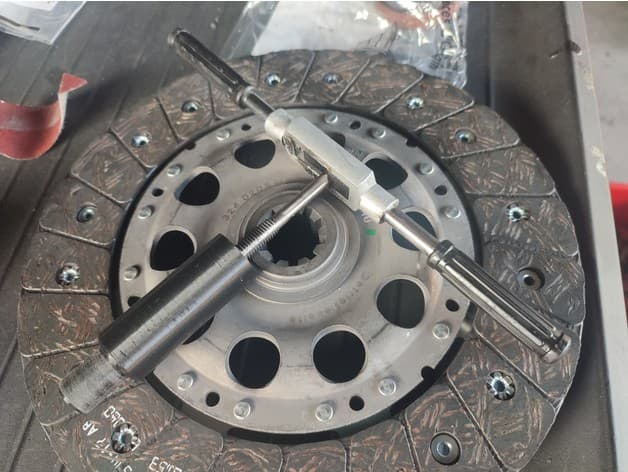
M52 Clutch Alignment Tool
Clutch center tool for BMW M52 (and other) motor This tool is needed to mount and center the clutch, you can't used standard tool. Work perfectly on my 1998 528i e39 Creator reports successful use on a 1998 E39 528i. Verify dimensions against the original part and confirm full operation before regular use.
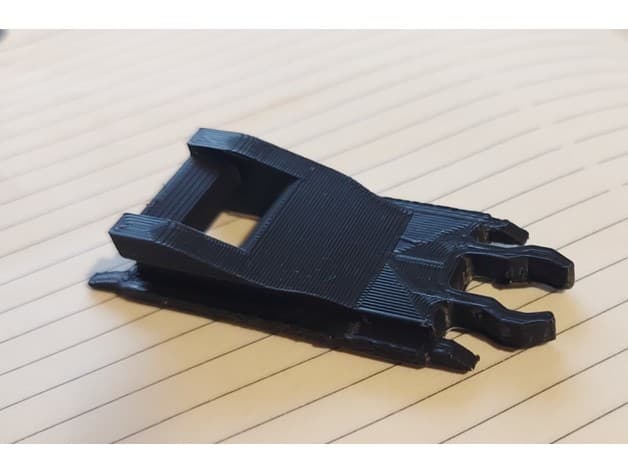
Sunroof Slider-Rail Repair Clip
Fourth-iteration replacement for the small slider-rail clip used in creator-listed E36, E39, E46 and E53 sunroofs. The source shows the physical print and a working demonstration. Use heat-resistant material and verify full sunroof travel, anti-pinch operation and water sealing before driving.
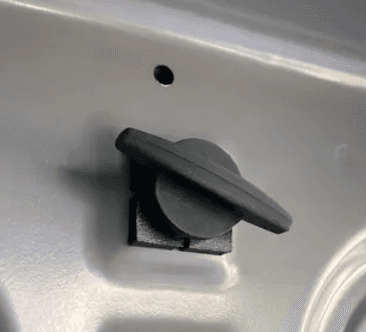
Trunk Toolbox Nut
I used: fibre reinforced ABS 20 % infill 4 outer wall thickness 0,4mm nozzle no support but slower outerwall speed Might also work with generic ABS/ASA/PETG BMW catalog identifies screw plug 71111179444 from 1986-06 with broad BMW toolbox usage; the API fitments reproduce the creator-listed E38/E39/E60/E65/E66 families. Verify dimensions against the original part and confirm full operation before regular use.
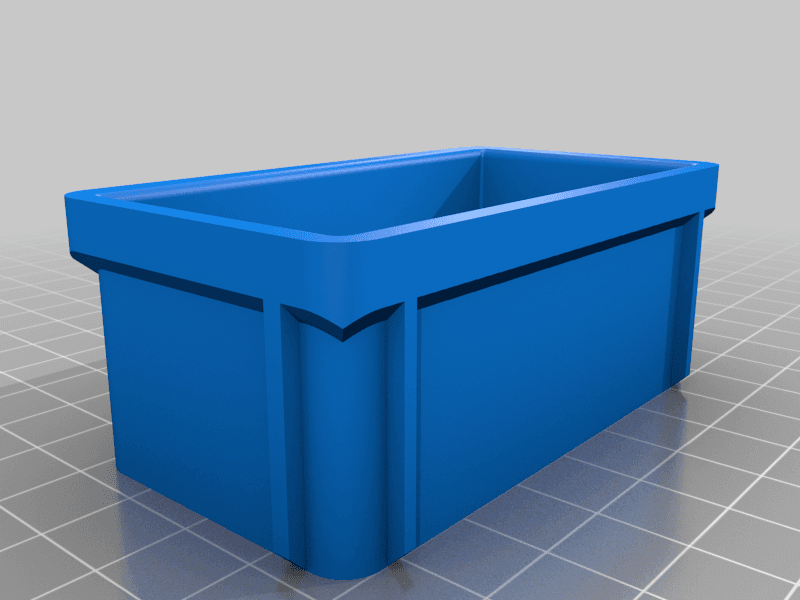
Ashtray-Delete Storage Cubby
This part is a small storage cubby for use in place of the broken center console ash tray for BMW E39. The bottom clip of the ash tray holder is commonly broken on E39 models and cannot be fixed without replacing with a working center console trim piece, which can be hard to find in good condition. The part includes a cutout for the illumination strip so the cubby is illuminated at night. Fitment is very tight to avoid the use of adhesives. Carefully press in with a bit of force and it will fit as shown in the photos. Verify dimensions against the original part and confirm full operation before regular use.
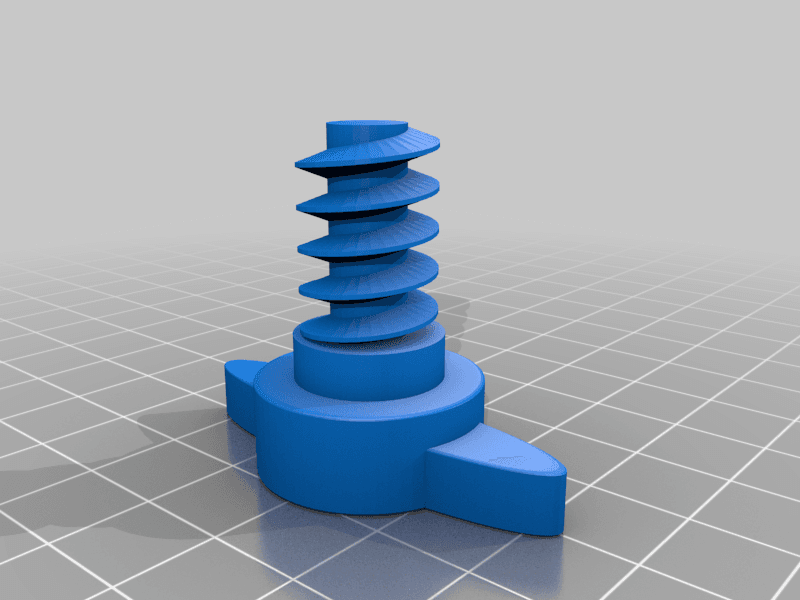
Trunk Toolbox Screw
The Screw in older BMW Trunks Toolboxes. E.g. e39 Verify dimensions against the original part and confirm full operation before regular use.
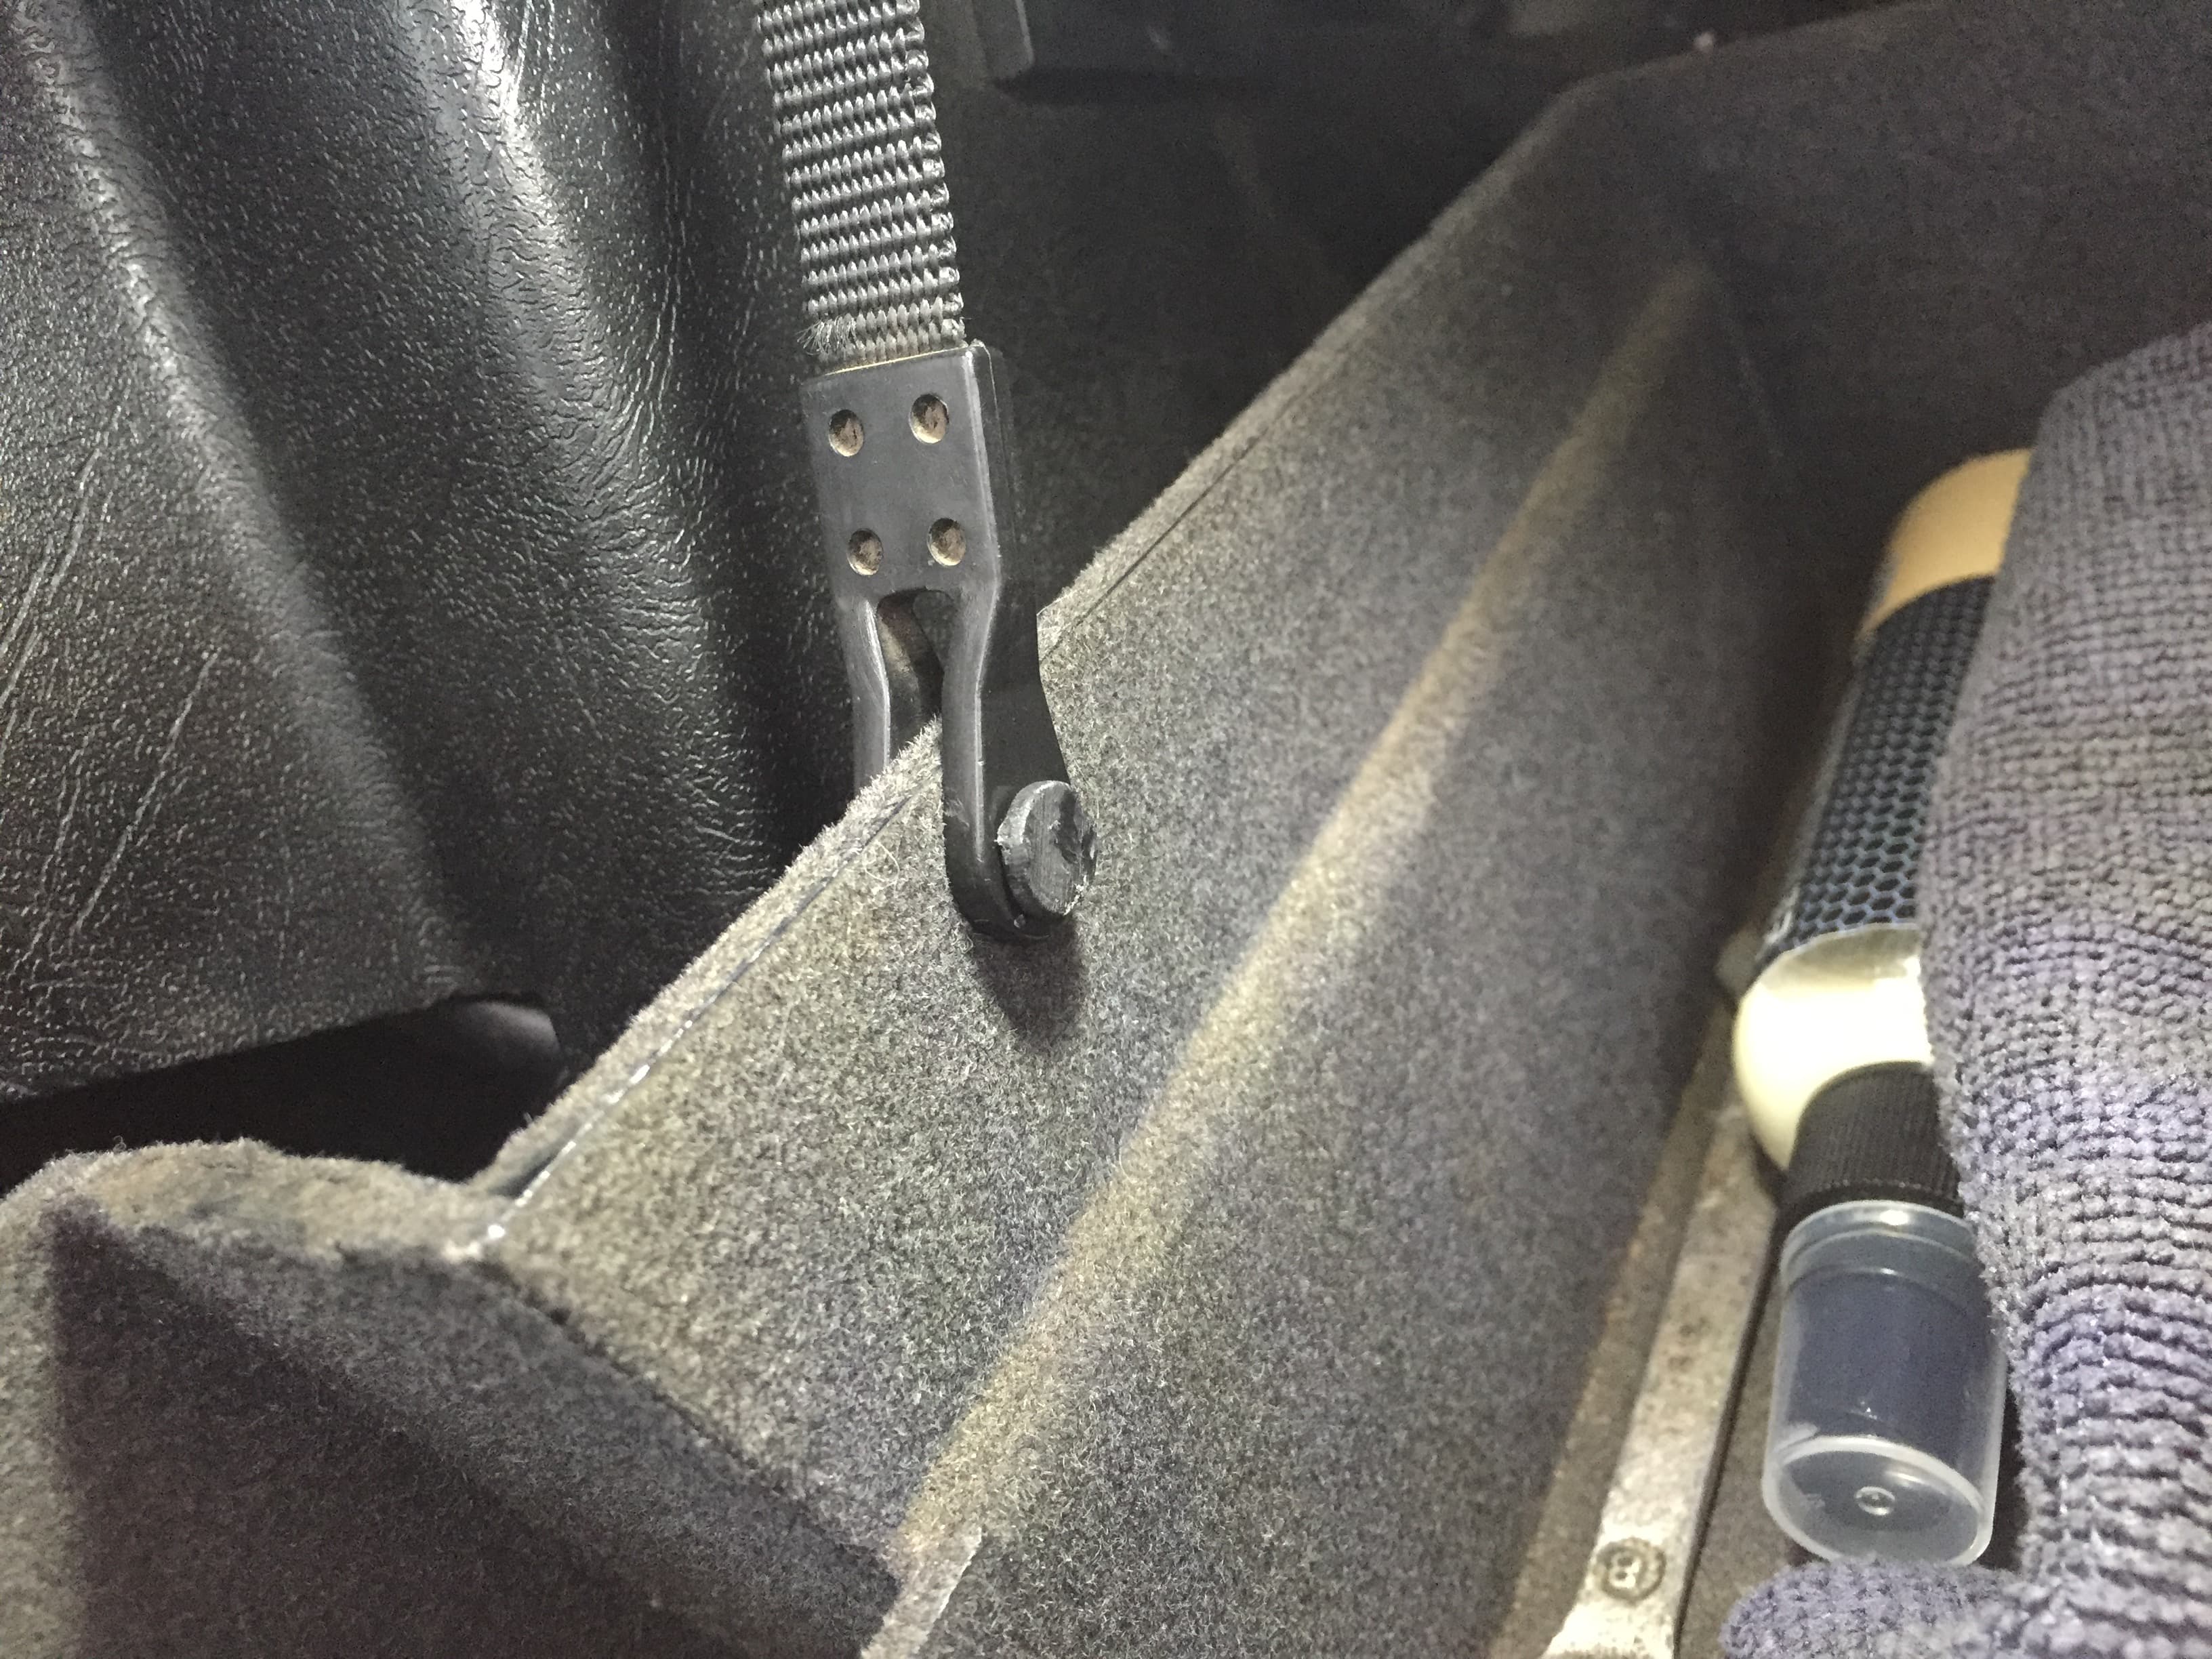
Glovebox Damper Pin
Dimensioned replacement glovebox damper pin for BMW E21, E28, E30, E31, E34, E38, E39, E46 and E60/E61. The creator identifies BMW pin 51161828956 and shows the physical result installed. Verify damper eye and panel thickness before fitting.
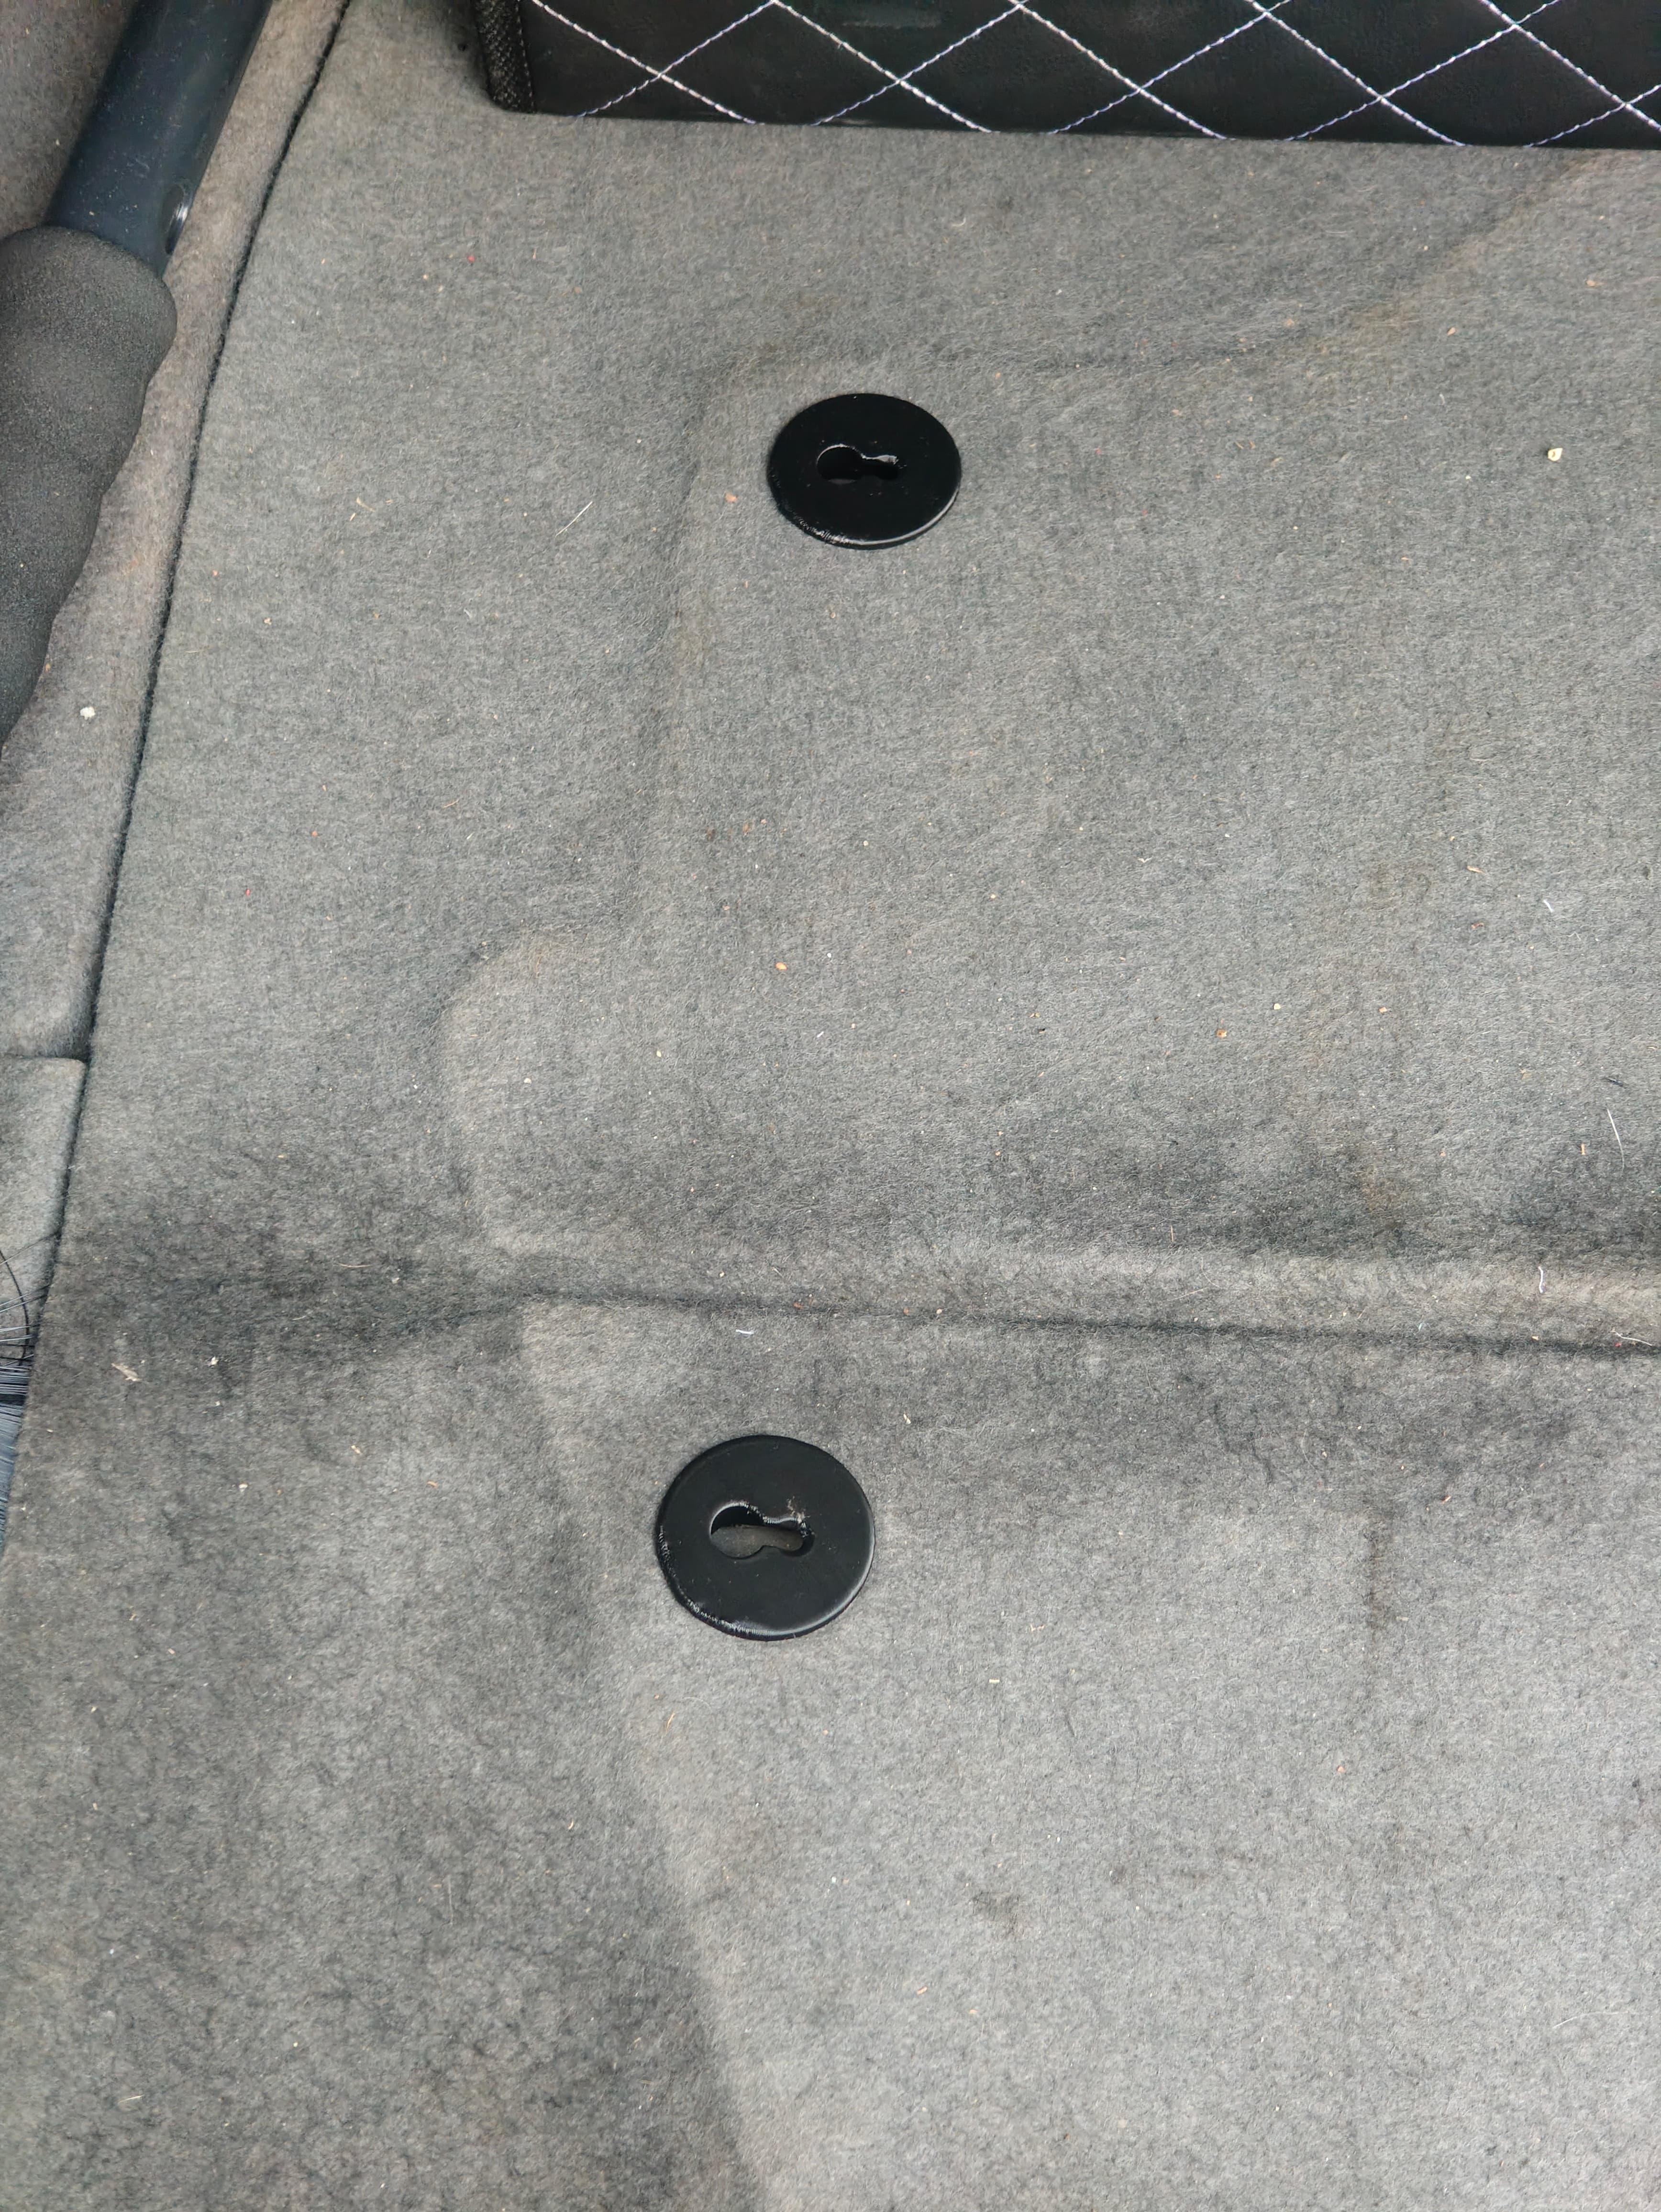
Trunk-Floor Twist Lock
Replacement for BMW OEM part 51478230749 (Support for Tension Strap). Used to secure the trunk floor panel in BMW E39 E36 models. Printing recommendation: For maximum strength, print the part at a 45° angle using supports. This print orientation improves layer adhesion in the areas subjected to the highest load, resulting in a stronger and more durable part. BMW catalog lists support 51478230749 from 1996-09 and records bilateral interchangeability with superseded 51478197822; retain the creator-listed E36/E39 fitment. Verify dimensions against the original part and confirm full operation before regular use.
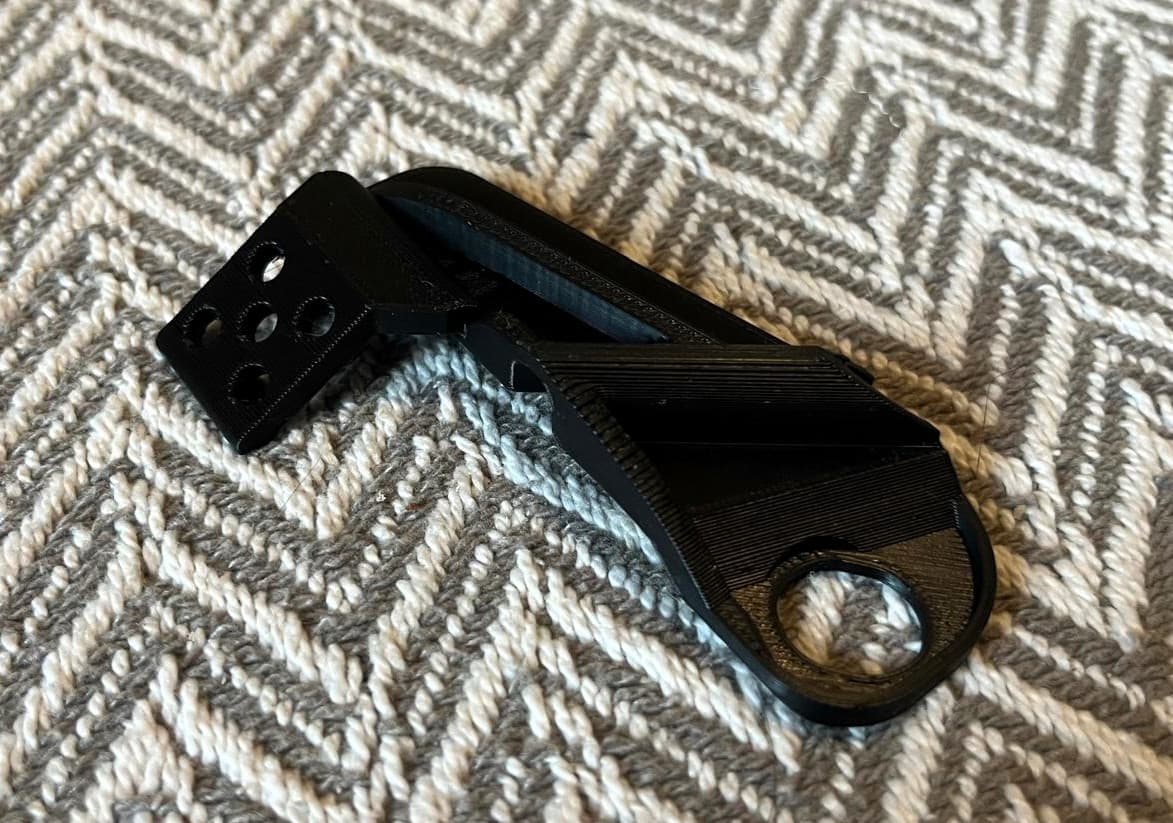
Gladen Alpha 130 G2 Tweeter Mount Pair
I designed these brackets because the original BMW E39 tweeter mounts are too small to fit the Gladen Alpha 130 G2 tweeters. Installing aftermarket tweeters in the factory location can be challenging, as the available space inside the original E39 mounting brackets is very limited. These adapters allow the Gladen tweeters to be mounted securely while retaining the factory installation position. Compatible Speaker Set Gladen Alpha 130 G2 Original BMW Parts Left side: 65138362527 Right side: 65138362528 OEM reference: Printing Notes Designed for BMW E39 factory tweeter locations. Tested with Gladen Alpha 130 G2 tweeters. PETG or ASA is recommended for improved heat resistance inside the vehicle. Print with at least 3 perimeters and 30–40% infill for good durability. I hope this model helps anyone upgrading the factory audio system in their BMW E39. Verify dimensions against the original part and confirm full operation before regular use.
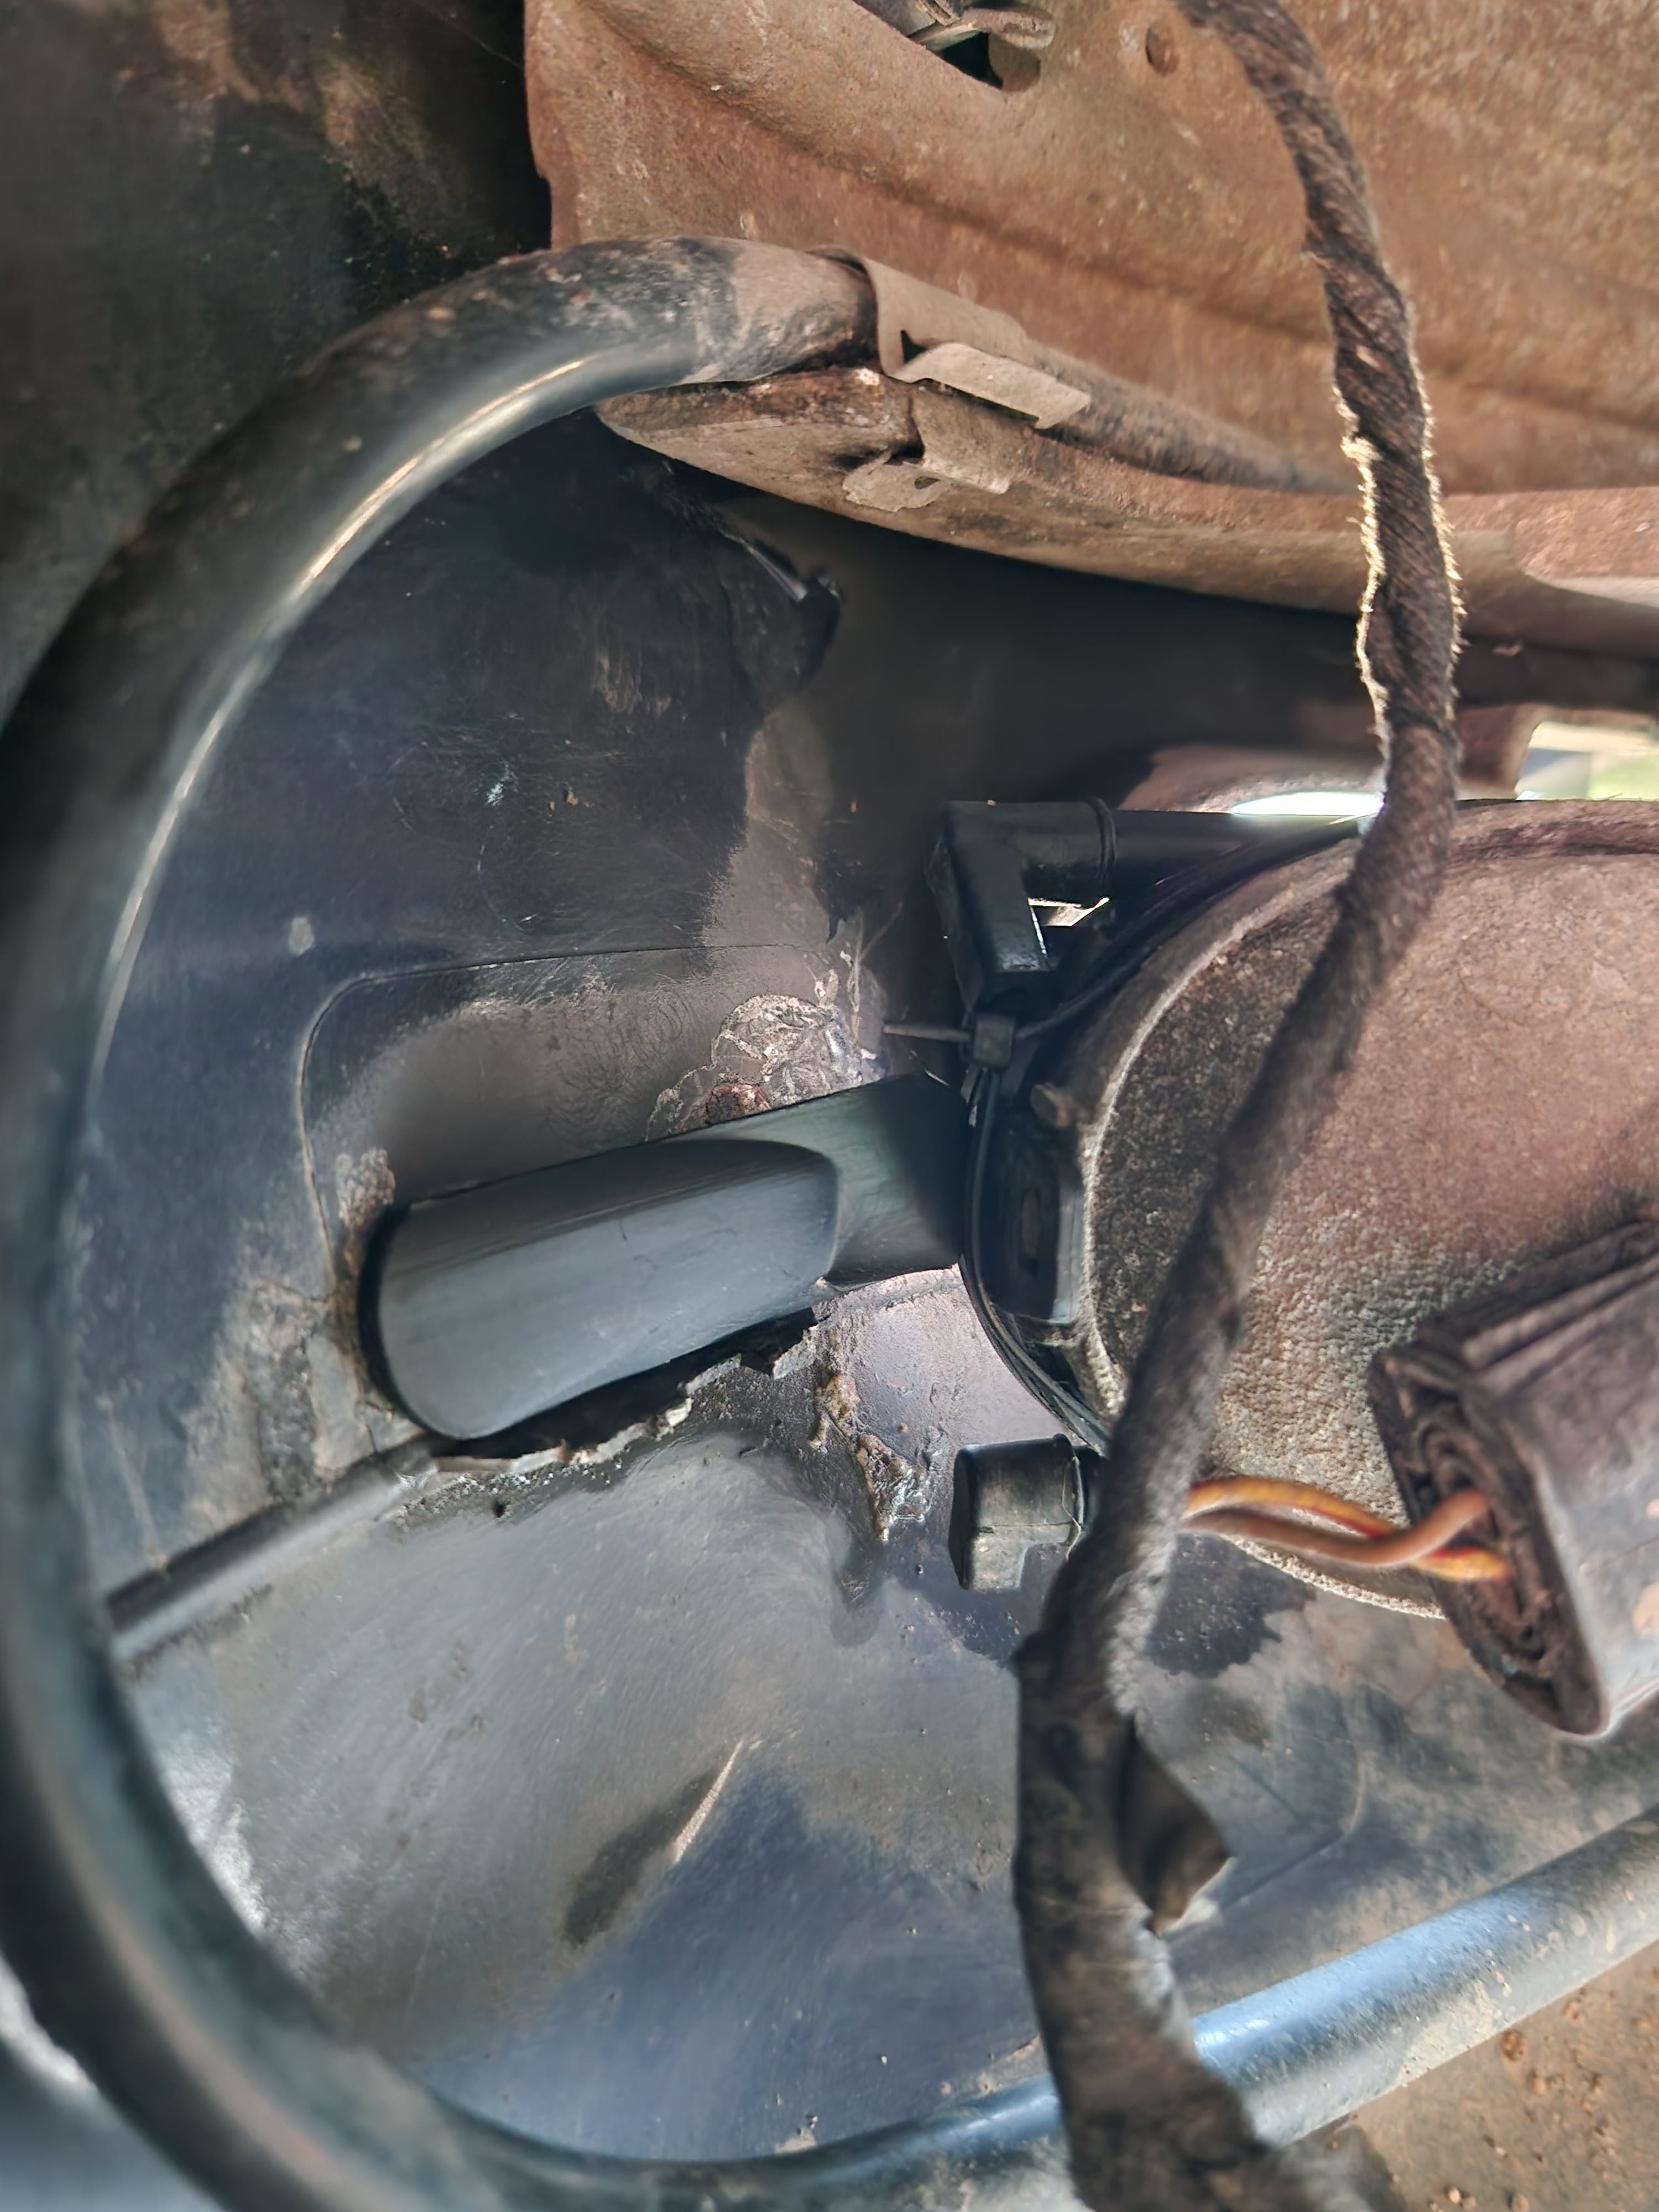
Facelift Fog-Lamp Mount Repair Pair
Replaces the integrated plastic tab that commonly shears off, allowing the fog light to be secured without replacing the entire bumper. The bracket replicates the factory slot geometry. Once bonded, the fog light housing slides into the bracket and locks into place using the original mounting hardware/method. Material: Would recommend ASA or ABS. Compatibility: 2001–2004 (Facelift / LCI) BMW E39 5-Series models. Will not fit Pre-Facelift or M-Sport/M5 Bumpers. I also sell the printed parts: Installation Instructions: 1. Access: Gain access to the fog light assembly either by removing the front splash guard in the wheel well or by removing the front bumper entirely. 2. Alignment: Leave the fog light attached to the bumper by its remaining intact mounting point. 3. Test Fit: Position the repair bracket and verify that it makes flush contact with the bumper surface. Ensure the circular tab on the fog light housing slots correctly into the bracket. 4. Preparation: If remnants of the broken original bracket interfere with the fitment, trim them down until the repair bracket sits flush. 5. Bonding: Thoroughly clean the contact areas on both the bracket and the bumper. Apply a strong epox Creator limits fitment to the facelift/LCI bumper. Verify dimensions against the original part and confirm full operation before regular use.
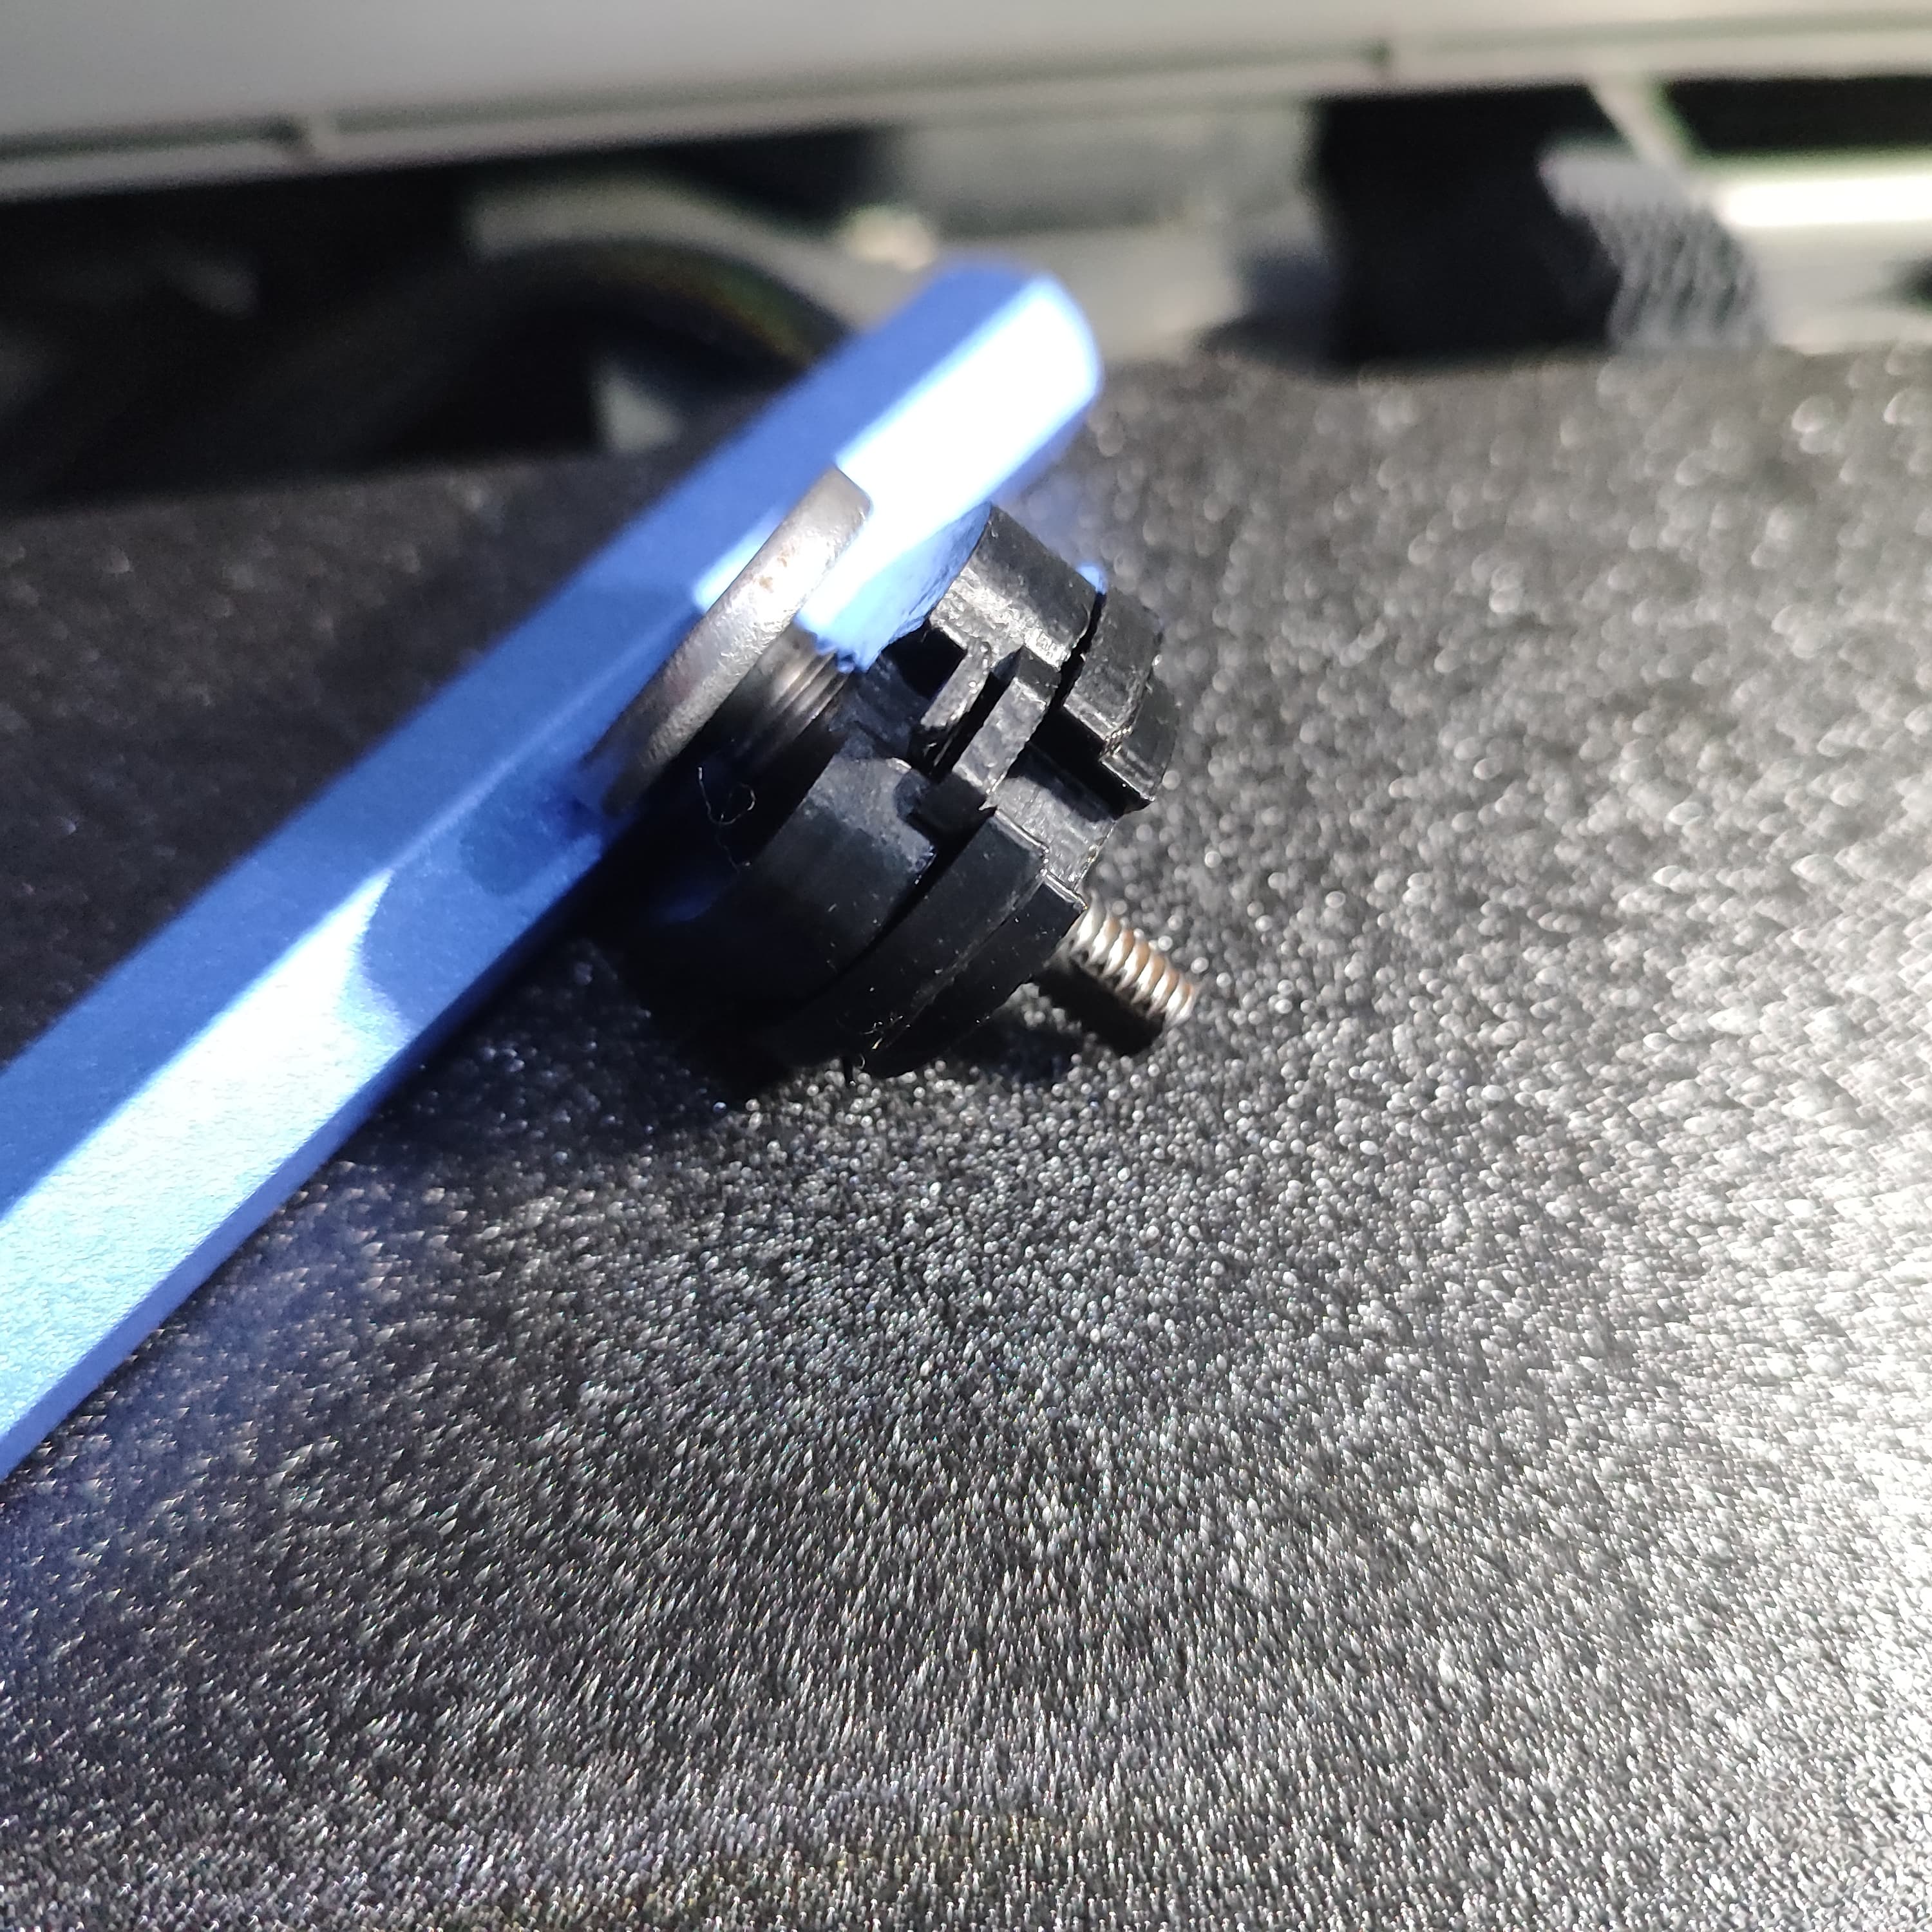
523i Glovebox Retaining Nut
BMW E39 523I glovebox nut PETG,ABS or other Verify dimensions against the original part and confirm full operation before regular use.
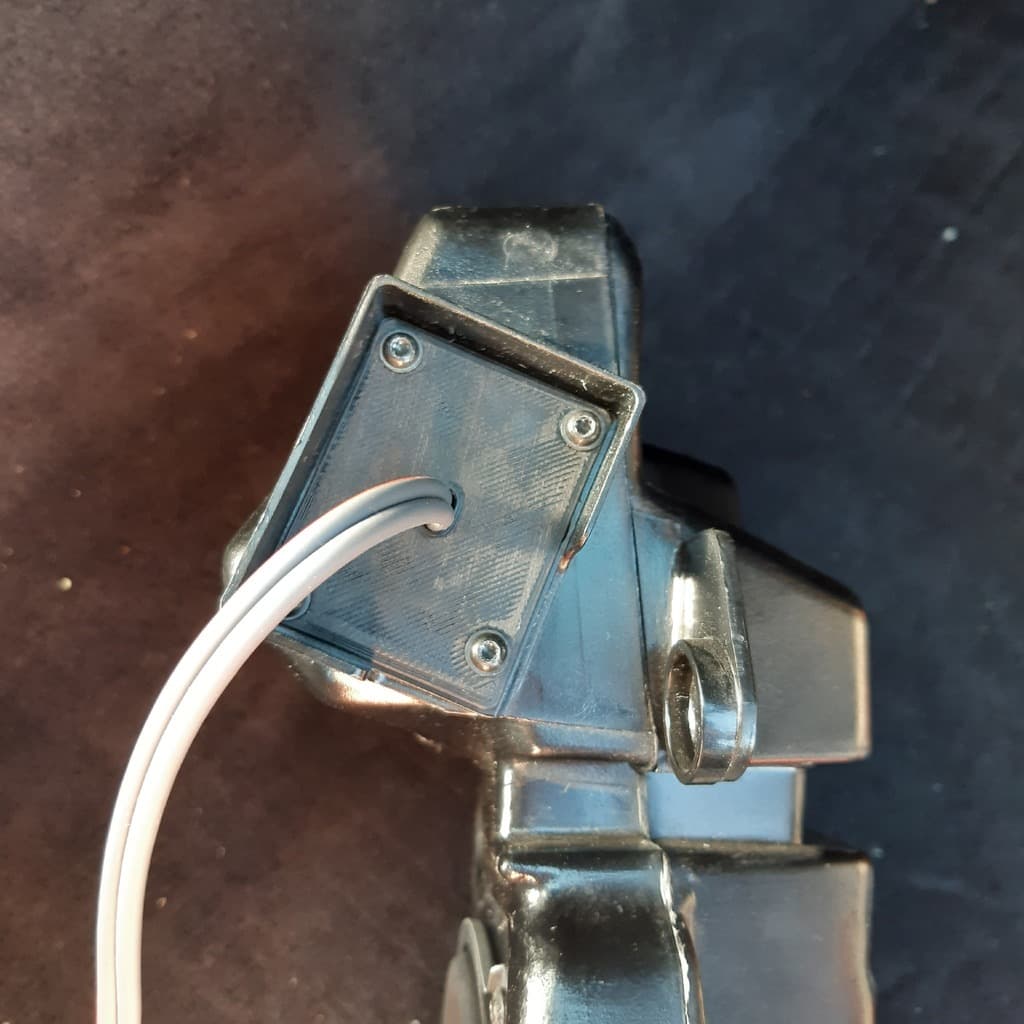
Speaker-Enclosure Sealing Plate
This speaker plate is designed for the BMW E39 speaker enclosure and replaces the original crossover filter. Allows the box be airtight when using with aftermarket speakers for better sound quality. Cable hole is designed for 2x1.5mm2 cable Hole size is: 7mm x 4mm Verify dimensions against the original part and confirm full operation before regular use.
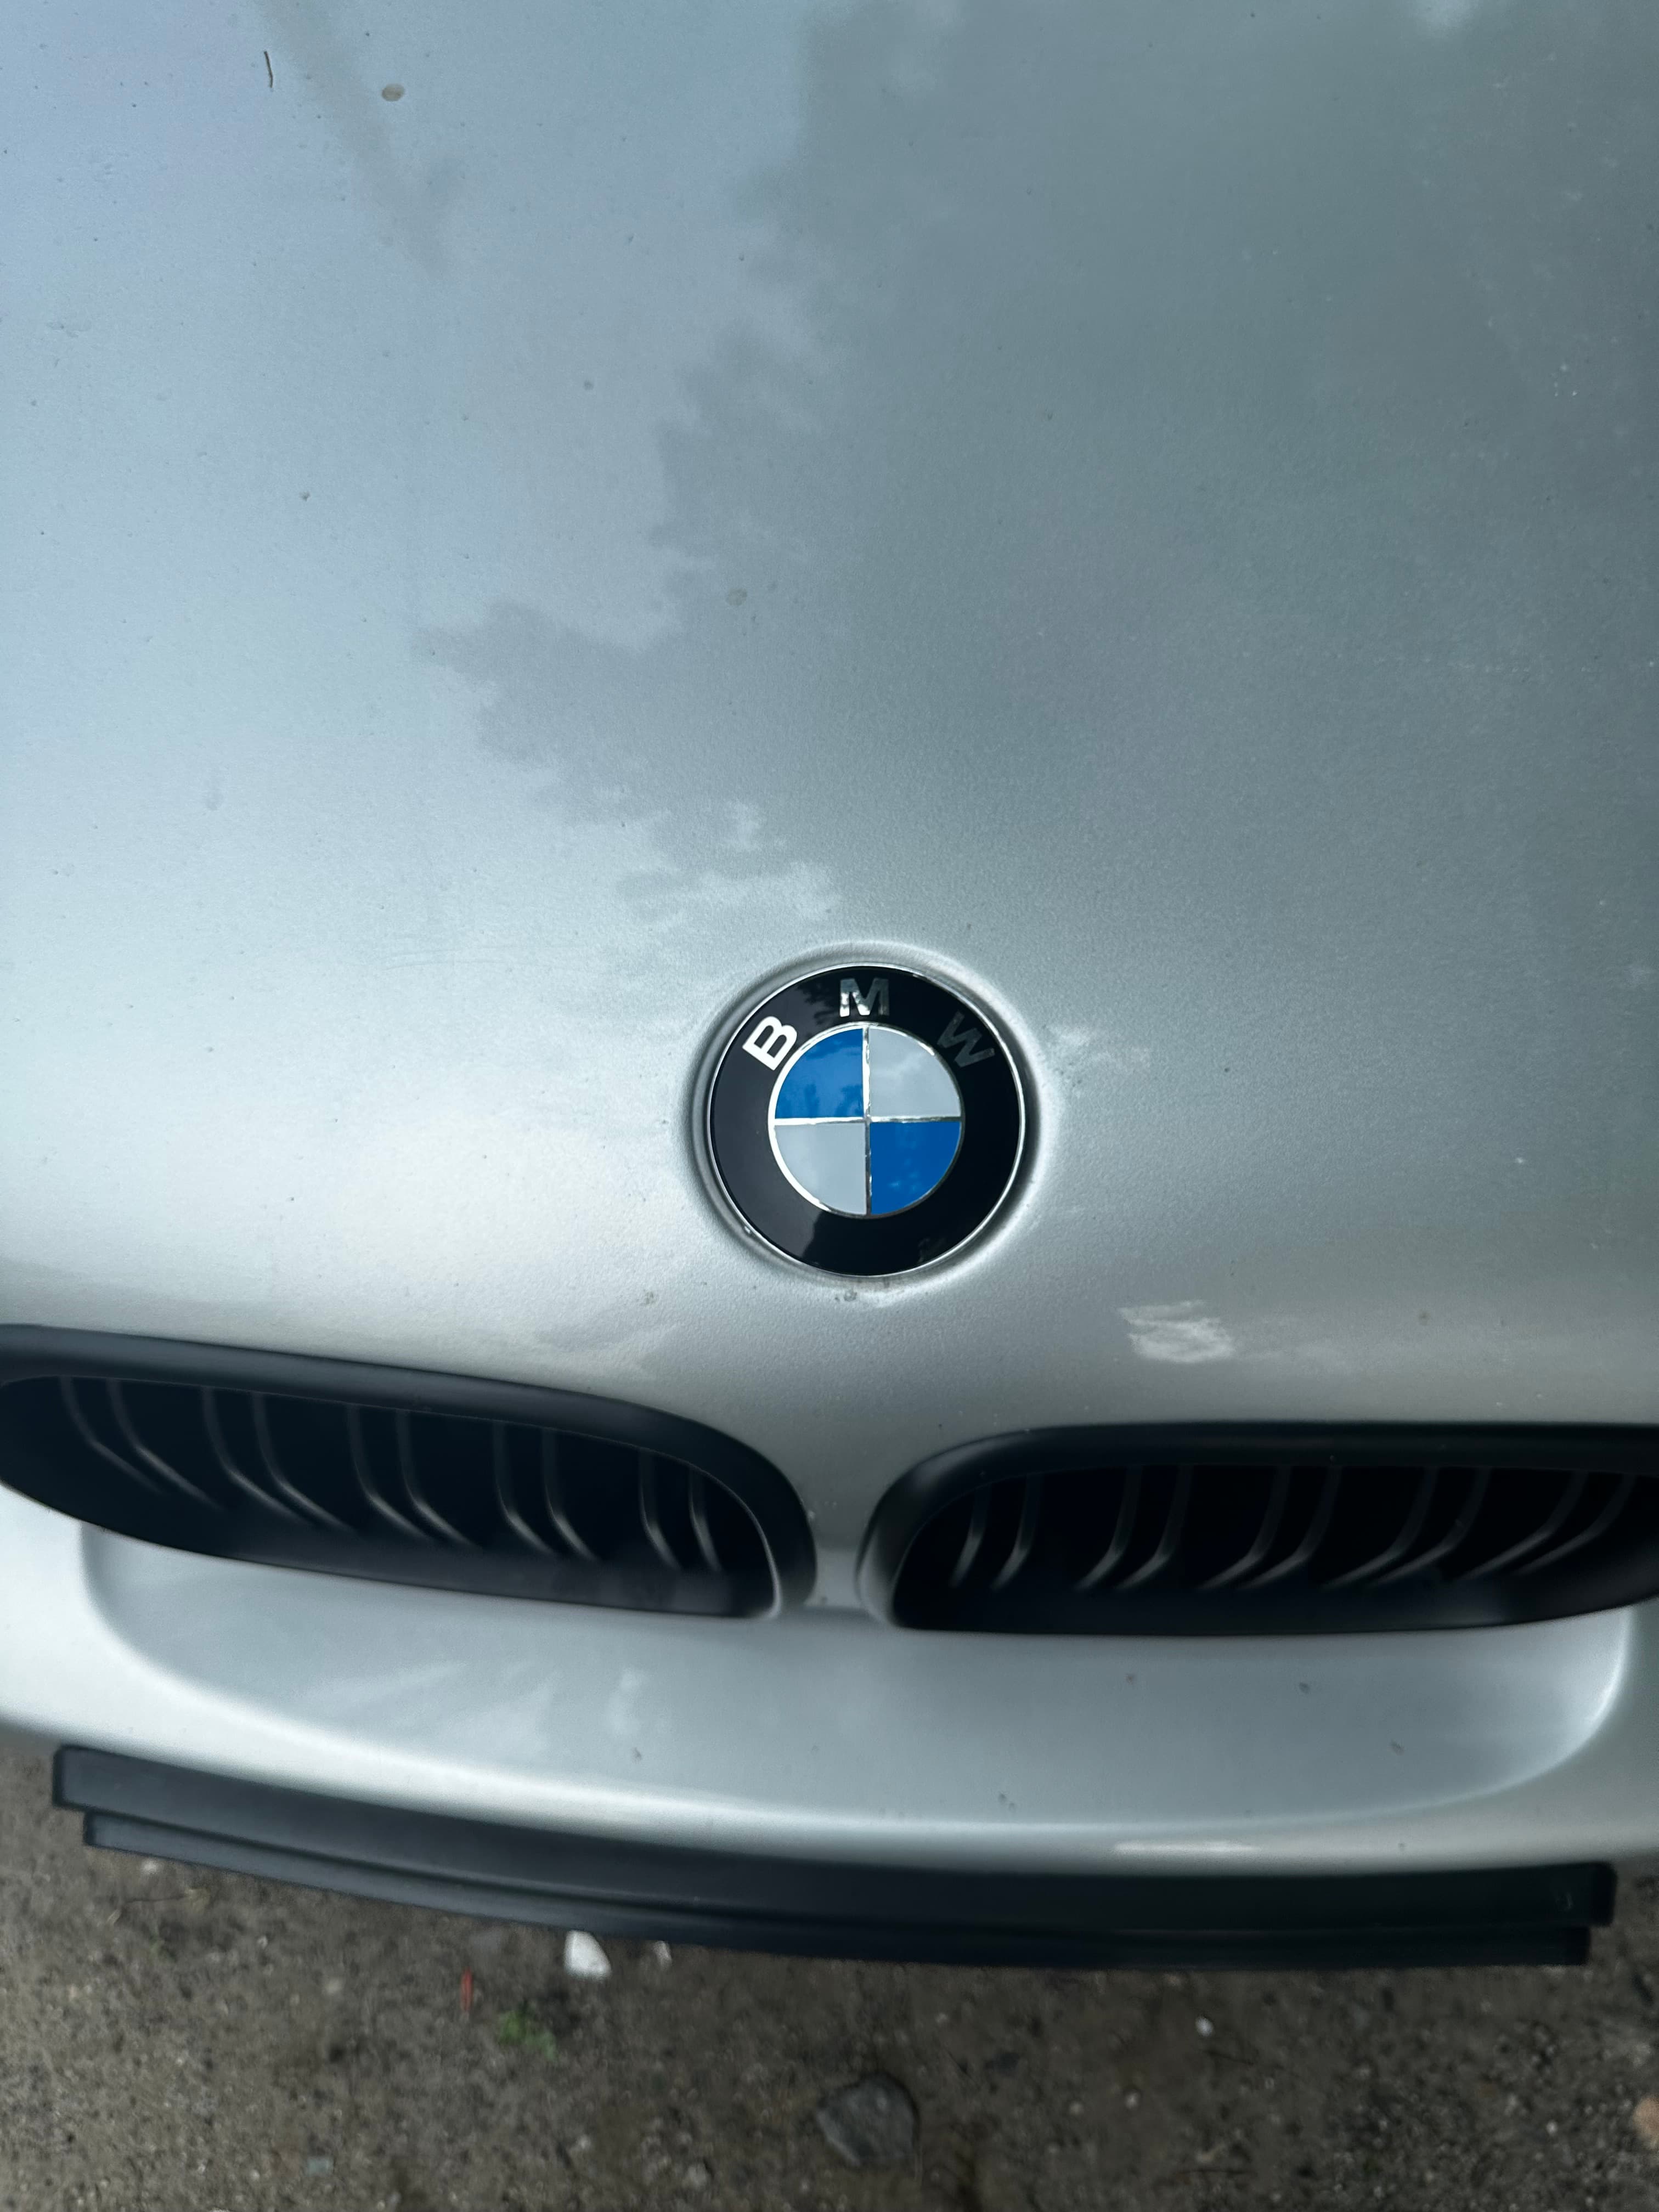
Hood-Roundel Mounting Clip
Prefer to use Nylon or another filament with great cohesion (My clips was printed with Nylon-GF) Verify dimensions against the original part and confirm full operation before regular use.
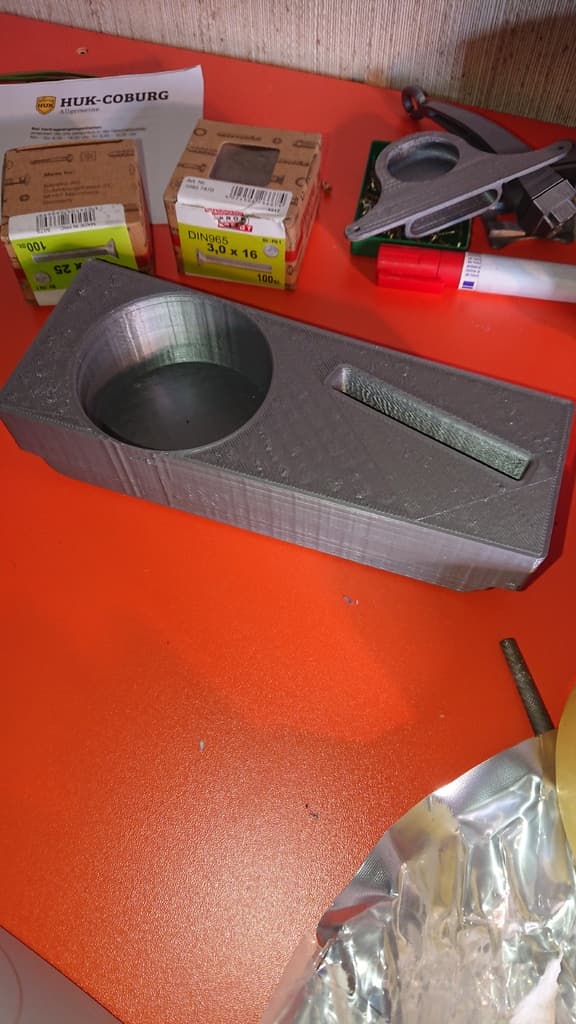
Center-Compartment Cup and Phone Holder
Center-compartment insert for a BMW E39, designed as a sturdier alternative to the loose factory cup holder. It fits in the storage recess directly in front of the original holders and accommodates cups up to 73 mm in diameter plus a phone up to 75 × 10 mm. Use cabin-heat-resistant material, verify the dimensions against the console, and confirm secure retention and unobstructed operation.
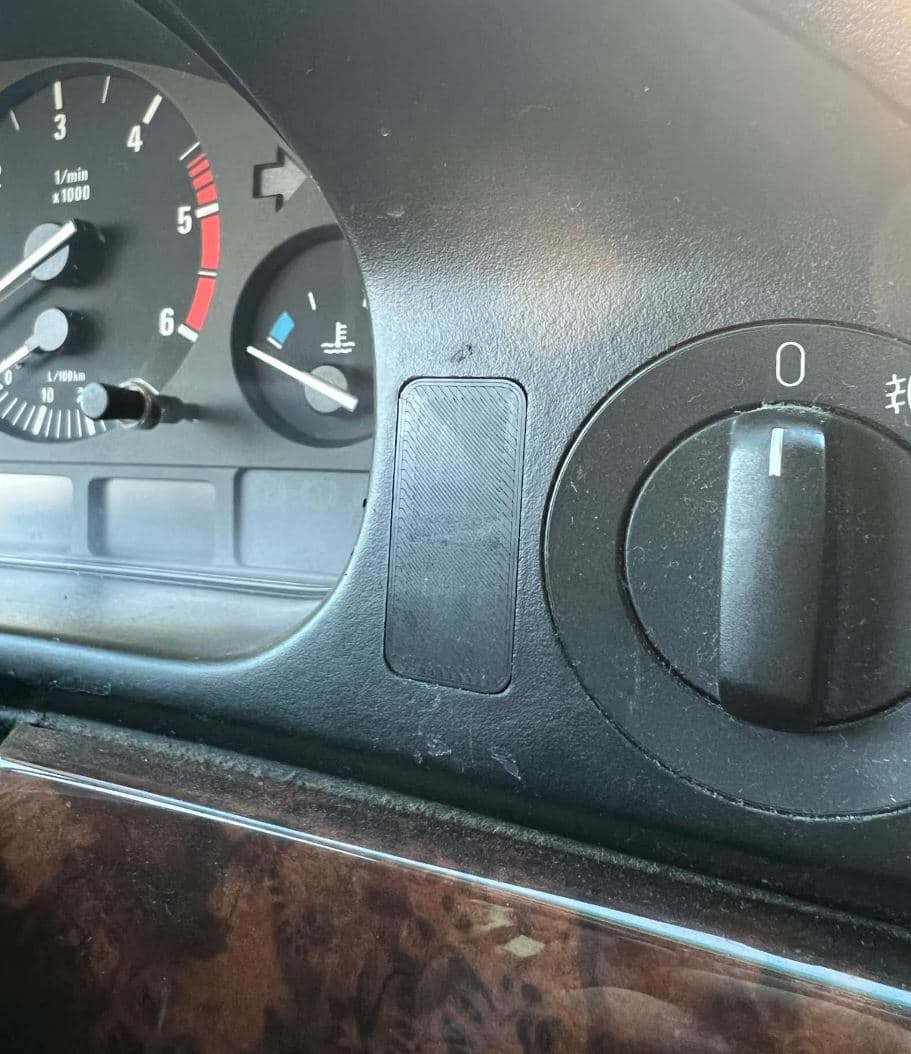
Dashboard Switch-Hole Cover
BMW E39 dashboard hole cover no glue needed(for my car it was tight fit, but not too tight) Verify dimensions against the original part and confirm full operation before regular use.
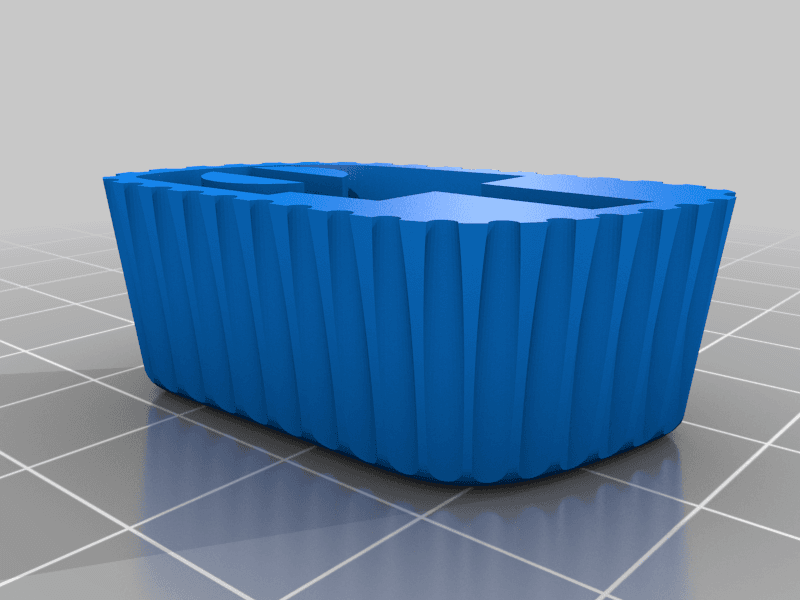
Electric-Seat Control Button
I made this part to hook on the little white knob to move the seat. I printed it with the arrows showing on top. 0.5mm extruder, 1h print time. supports on. Verify dimensions against the original part and confirm full operation before regular use.
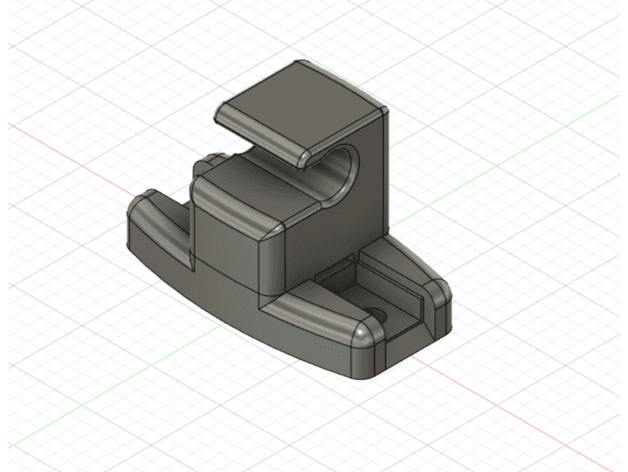
Sun-Visor Retaining Clip
This is the design I made to replace my broken sun visor clip in my 2000 BMW E39 528i Touring. It is a little difficult to snap in but has a nice fit once it's clipped in all the way. Some filing or sanding might fix the stiff fit. Creator reports fitment in a 2000 E39 528i Touring. Verify dimensions against the original part and confirm full operation before regular use.
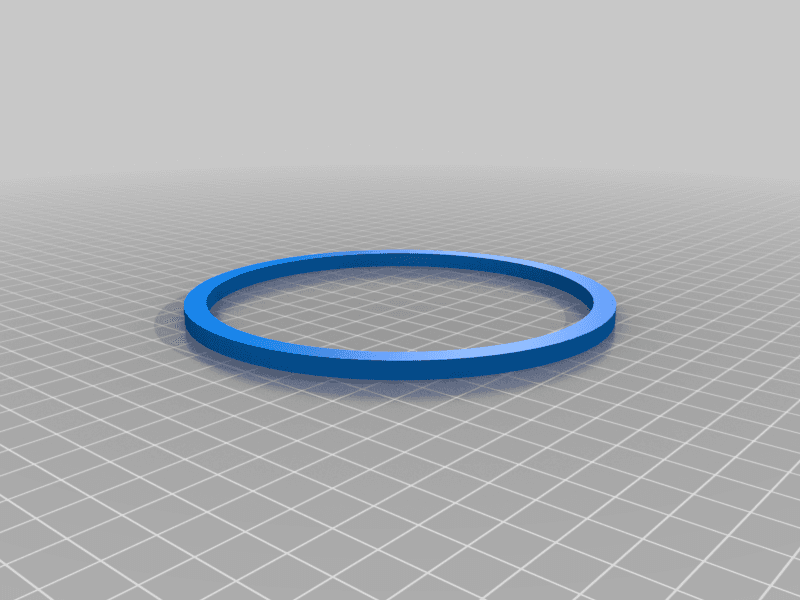
Front-Speaker Sealing Ring
...trying to fit aftermarket speakers in my e39 bmw i found out that they leave a gap to the standard boxes in the front doors. so i quickly designed these simple rings to close the gap, Use TPU to print them to ensure a tight fit. Verify dimensions against the original part and confirm full operation before regular use.
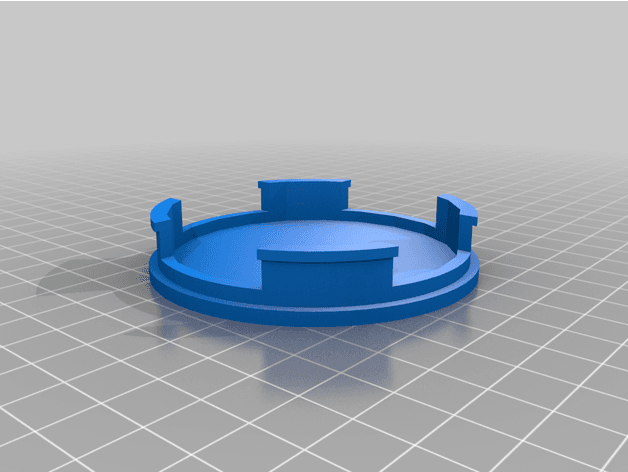
AC Schnitzer Type-2 Wheel Center Cap
hey ho, got a couple of used AC Schnitzer type 2 rims with the center hub caps missing, so i designed a simple and clean version. may require some sanding and spraypainting afterwards to fit your rim color. Verify dimensions against the original part and confirm full operation before regular use.
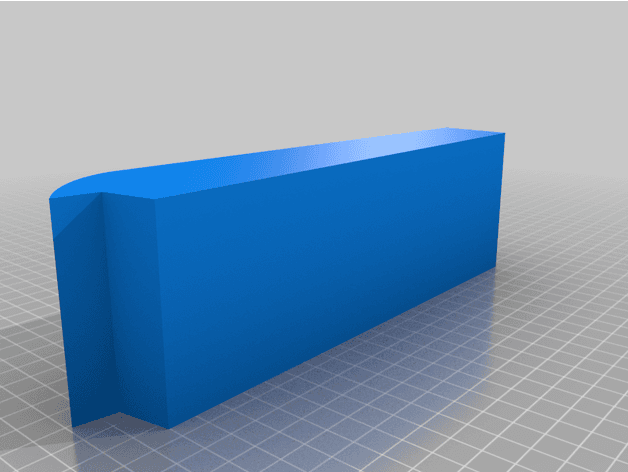
Armrest Telephone-Delete Inlay Set
You probably do not use your E39 bluetooth phone anymore. Don't waste this space in your car and print my inlay to make this area useful for you. There are different versions available, I hope you will be able to chose the most fit for you;) I personally use the one with the grooves for phones. Verify dimensions against the original part and confirm full operation before regular use.
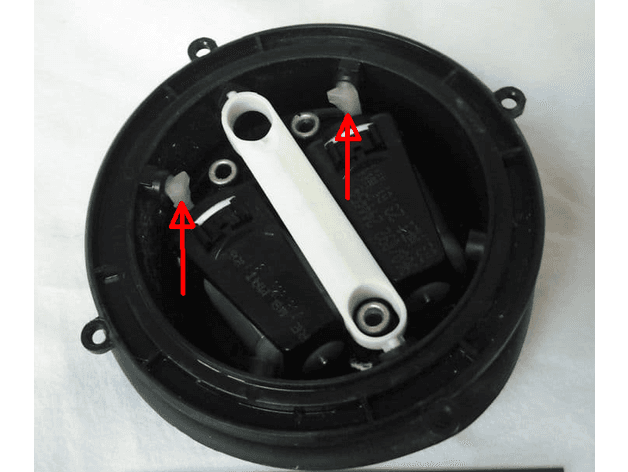
Door-Mirror Adjustment Pin
The mirror adjuster on my E39 stopped moving the mirror in left-right direction, however I could still hear the small motor working. After removing the mirror plate, I found a small plastic component broken. Of course you can't buy this part, only the whole assembly (the one where I marked the pins with red arrows) for 100 USD :). Based on the broken component, I copied the part and printed it. It works perfectly!! Please note that if you need this for up-down motion, you will need to mirror the part before printing. Verify dimensions against the original part and confirm full operation before regular use.
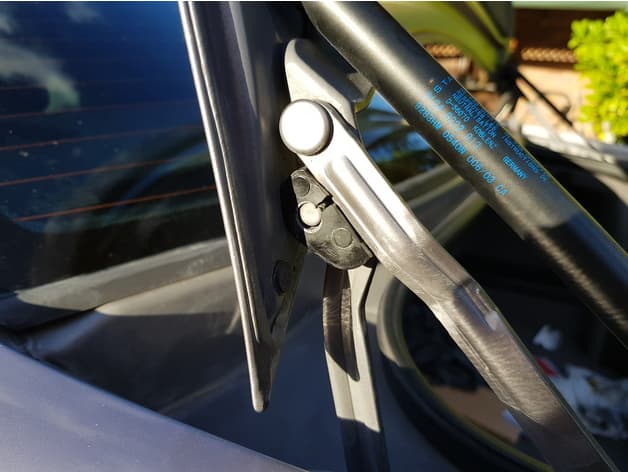
Trunk-Lid Travel Buffer
This is the buffer that the arm on the boot/trunk hits to stop it opening too far, if it cracks (which it will) then ultimately it tries to bend the gas struts. Photo shows a broken one and the print. This is for the RHS looking at the rear of the vehicle. The LHS is identical but mirror image. Print this so it stands on the long edge (hole and pin are horizontal) or the the arm will seperate the layers, there is a lot of force there. I used PETG at 100% infill. Verify dimensions against the original part and confirm full operation before regular use.
24 of 50 shown